
Summers almost over? SAY WHAT!? But I love all of the seasons here in western Canada, so I mustn't complain...too much :P
This peanut butter ice cream has the highlight of my summer! It was like a blizzard when soft and the most perfect ice cream when hard.
The kids aren't going back to school here YET because of the teacher's strike. I don't mind because I am a stay at home mom but I'm sure moms that have to work DO care. It gets expensive to put your kids into day care, that is IF you can find a day care that isn't full!
Don't worry moms, if you have any frustrations, eat this ice cream. All your problems will go away.
It's gluten-free, dairy-free, refined sugar-free, and will put a smile on your face!
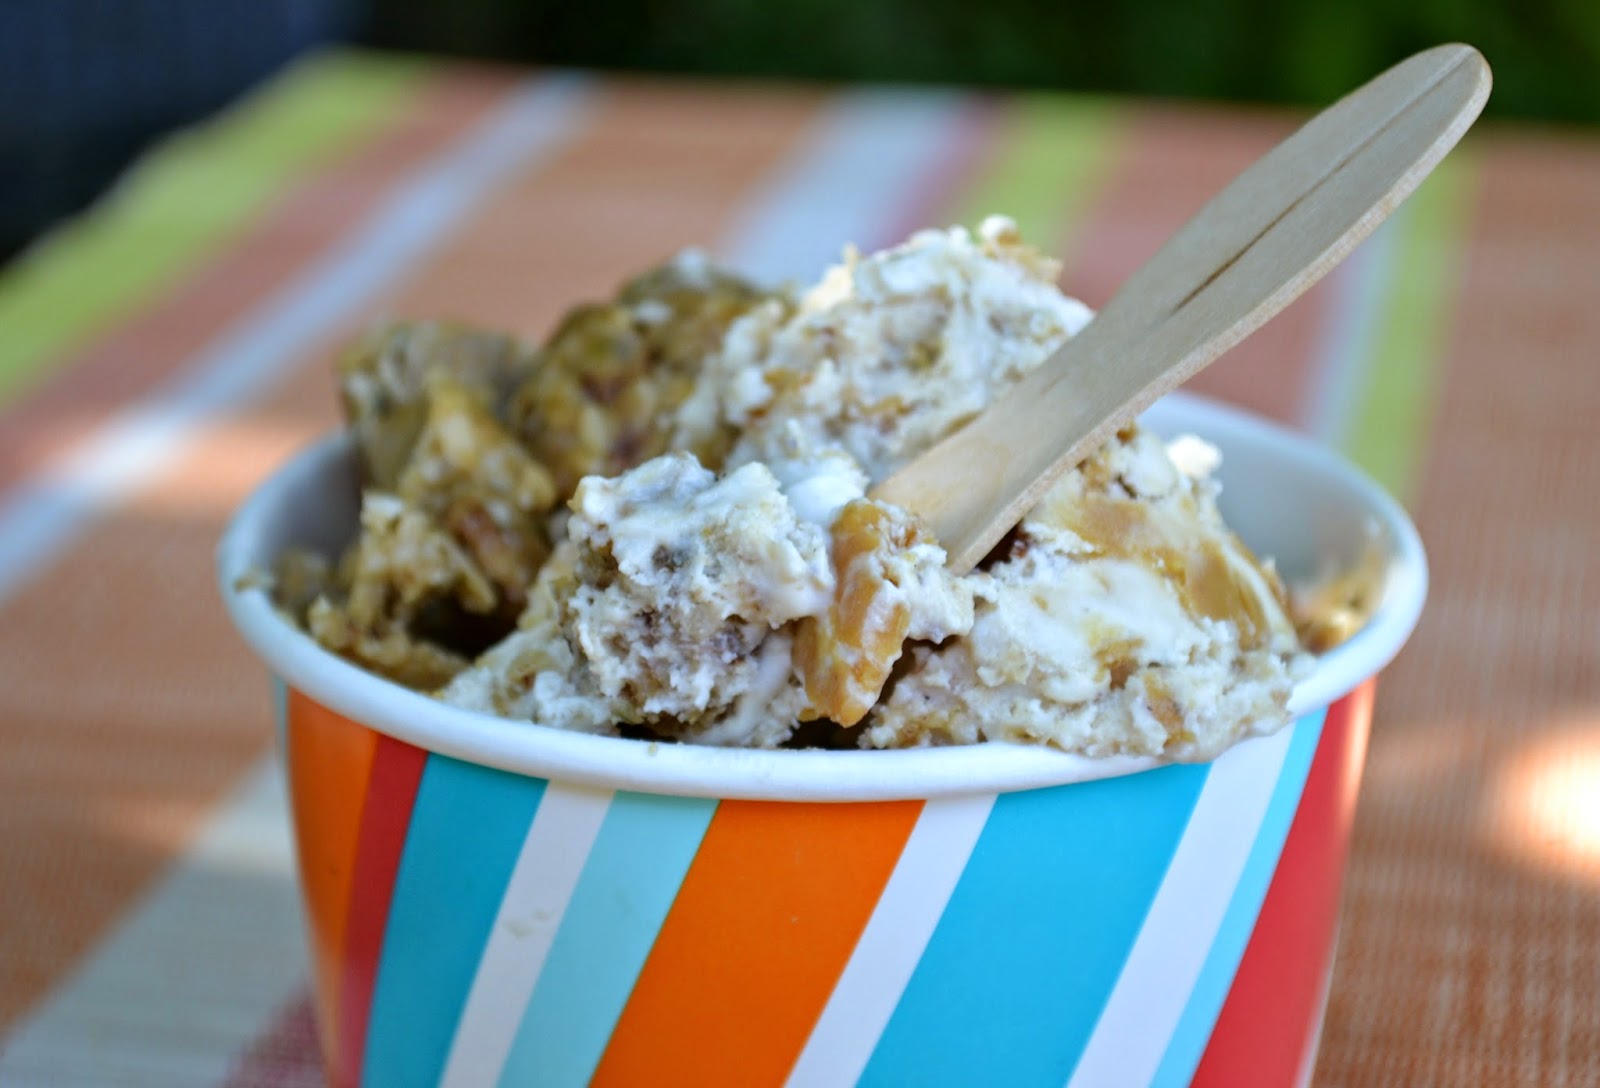
PEANUT BUTTER ICE CREAM WITH PEANUT BUTTER HONEY ENERGY BALLS
Serves 4
- 1 container of Vanilla coconut milk ice cream
- 4 Tbsp. organic peanut butter
- 5 peanut butter energy balls, cut into small chunks (recipe below)
1. Leave the ice cream on the counter for an hour. Scoop out ice cream into a large bowl and stir until soft. Add peanut butter and stir until mixed. Add energy ball chunks and stir. Serve! Add left overs back to the vanilla ice cream container and refreeze.

PEANUT BUTTER HONEY ENERGY BALLS
Makes 30 balls
Wet Ingredients
- 1 cup organic peanut butter
- 1 cup unpasteurized honey
- 2 tsp. pure vanilla extract
Dry Ingredients
- 2 ½ cups gluten-free quick oats
- ¼ cup hemp hearts
- ½ cup pumpkin seeds
- ½ cup sunflower seeds
- 1 cup raw nuts, ground (I used pecans and walnuts)
- 1 Tbsp. chia seeds
- ¼ cup shredded coconut
- ¼ cup dark vegan chocolate chips
- pinch of sea salt
1. Blend or process raw nuts, pumpkin seeds and sunflower seeds. Add dry ingredients to a bowl and stir.
2. Heat a pan on low heat for 2 minutes. Take off heat and move from warm burner. Add peanut butter, raw honey, and vanilla to the pan and stir well. Add wet ingredients to dry ingredients and stir. Mixture should be thick.
3. Scoop out mixture and roll into balls and place in a freezer safe dish. Roll as many balls as you can out of the mixture. Make sure you lick the spoon! Add balls to the freezer until they are hard, usually 1-2 hours. Take the balls off the freezer safe dish and add to a freezer safe ziplock bag as soon as they are frozen.
Store in the freezer until they are all eaten up. Will stay fresh for months.

My son Seth helped me with this photo. I love doing craft projects with the kids!


0 comments:
Posting Komentar